Hoping that you have gone through Introduction to yoga. I am assuming you gained basic knowledge about yoga. Many of our readers were keen to know more about yoga and were wanting to know which yoga poses to begin with. This is exactly the reason why we have come come up with yoga for beginners post where we will tell you basic asanas that everyone can do to start their health journey.
Are we going to practice the complicated the difficult yoga poses in the beginning? Not really, for now, we should try out the easy poses, and practice them till we can practice it effortlessly. We should start with easy poses and then gradually attempt more difficult poses for our benefit and growth.

How is Yoga going to benefit you?
Practicing yoga is beneficial to us in many ways you could not even think of. Many of the researches on yoga has been done, the study states various benefits for our body and mind. Practicing yoga makes your body more flexible obviously but it also makes our muscles stronger. Other than that, it helps us on concentration levels and trains the mind to be calm and peaceful. To know more about the benefits of yoga, kindly read Benefits of yoga.
7 Yoga poses for Beginners:
1. Warrior pose 1 (Virabhadrasana 1)
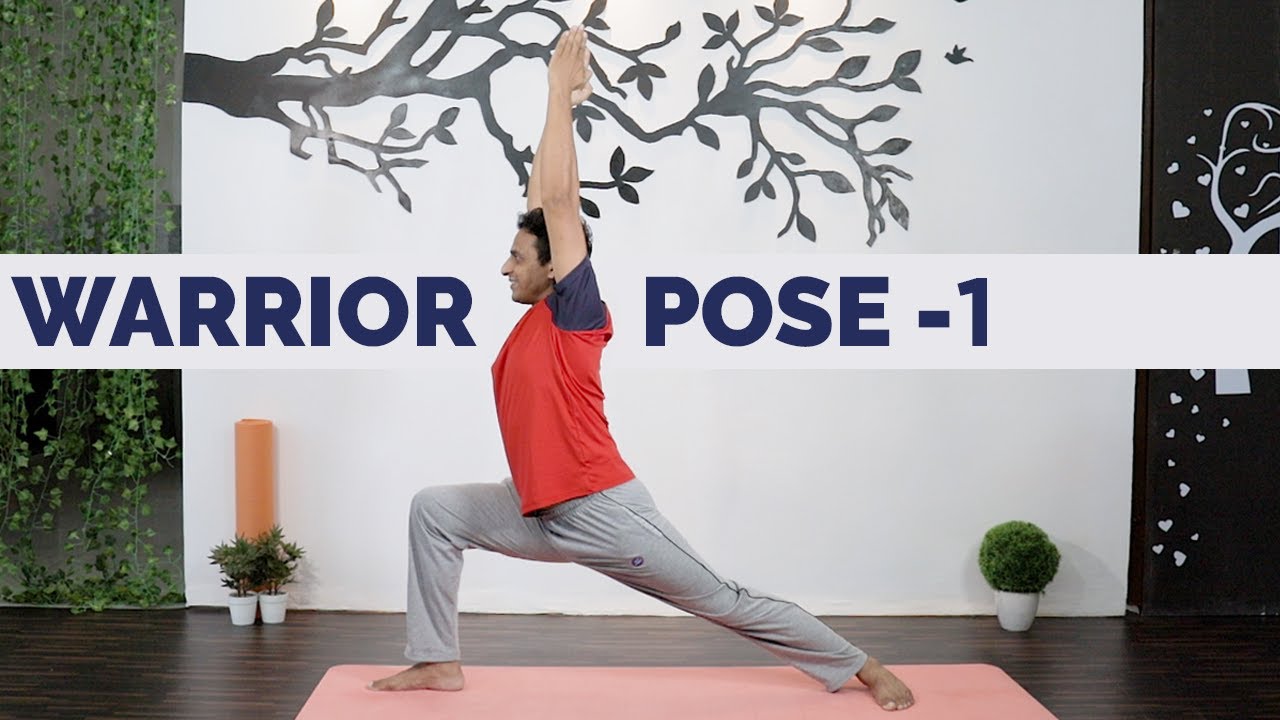
Steps:
- Stand straight and keep 3 ft distance between your legs.
- Turn your right leg to 90-degree angle and the left leg be kept in a comfortable angle
- Then turn your upper body to your right side and bend a little, folding your right leg and left leg straight.
- Raise your hands above your head and hold the pose for 30 seconds
- Repeat the same on the other side too
- You can gradually increase the time of holding the pose can repeat the same after taking some rest.
Benefits:
- It strengthens your thigh and calf muscles.
- It also helps build strong muscles in the back and shoulders.
- Energizes the whole body.
- Unlocks your hips and opens up chest and lungs.
- Increases the capacity of your lungs, leading to more intake of oxygen.
- Beneficial for a pregnant woman going through 2nd and 3rd trimester.
Cautions:
- Avoid this pose if you are suffering from high blood pressure and any heart problems.
- Avoid this pose if you recently suffered from Diarrhoea.
- Use some support if you have any knee-related issues, like any kind of injury or arthritis.
2. Warrior pose 2 (Virabhadrasana 2)
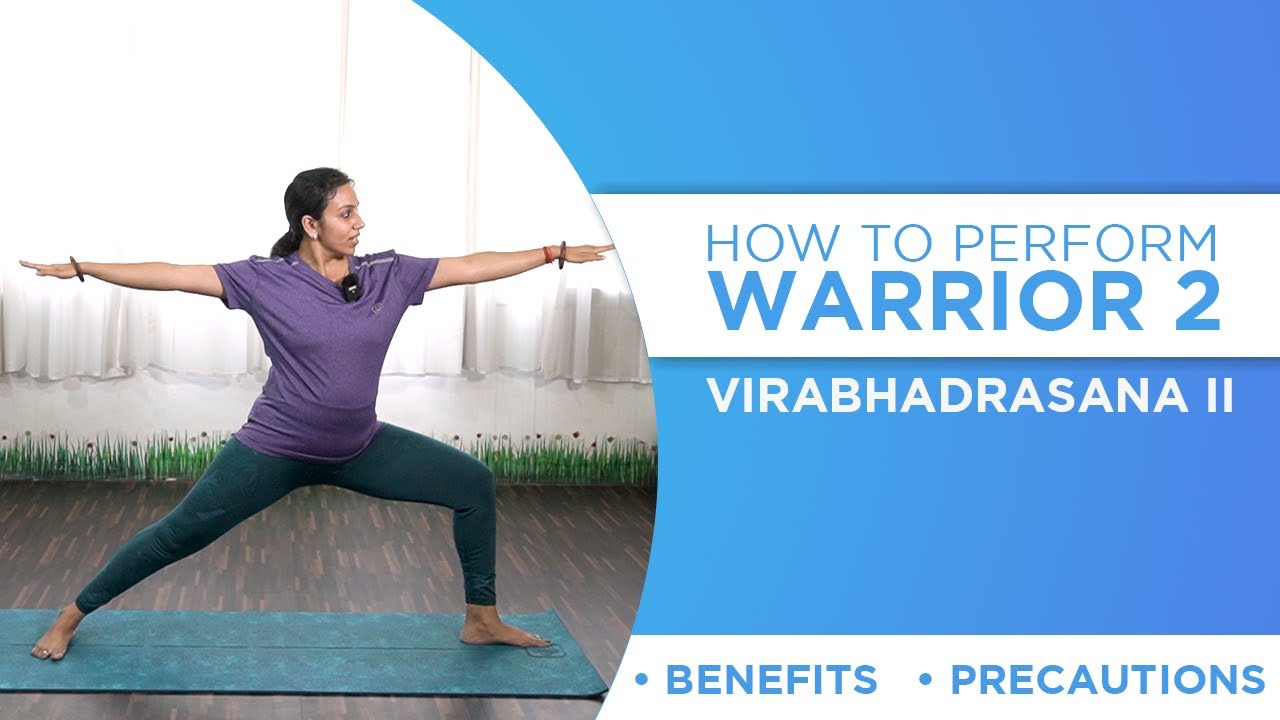
Steps:
- Stand straight and keep 3 ft distance between your legs.
- Turn your right leg to 90-degree angle and the left leg be kept in a comfortable angle
- Then turn your upper body to your right side and bend a little, folding your right leg and left leg straight.
- Raise your hands by your side and hold the pose for 30 seconds.
- Repeat the same on the other side too
- You can gradually increase the time of holding the pose can repeat the same after taking some rest.
Benefits:
- This pose helps stretch your hips, groins and shoulders.
- Also good for pregnant ladies in their 2nd trimester.
- It opens up the lungs and lets you breathe more oxygen.
- This pose helps in better blood circulation.
- Elevate your energy and mood.
- It also strengthens thigh and calf muscles.
- Holding hand by your side also tones your arms.
Precautions: (same as warrior pose 1)
- Avoid this pose if you are suffering from high blood pressure and any heart problems.
- Avoid this pose if you recently suffered from Diarrhoea.
- Use some support if you have any knee-related issues, like any kind of injury or arthritis.
3. Tree pose (Vriksasana)
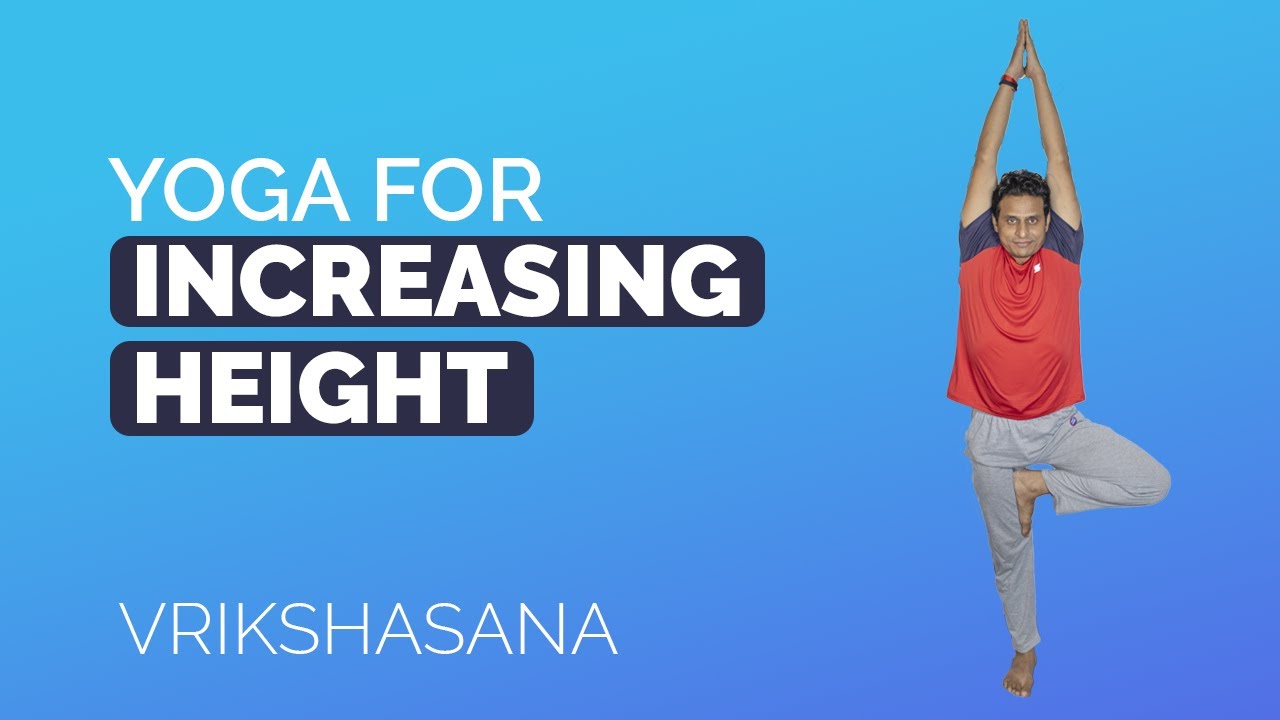
Steps:
- Stand straight with both your legs well balanced.
- Raise your feet and place it on your inner thigh of other leg, above knees.
- Your whole sole area of the raised leg should be touching the inner thigh
- Maintain a balance on one leg might be difficult, try putting a right and balanced amount of weight on the body parts.
- Raise your hands above your head and let your palm face each other, and then brought close to each other, joining.
- Maintain the balance and hold the pose as long as possible, practice it every day and try keeping a goal of maintaining the pose for 1 minute.
Benefits:
- It strengthens the spine, tones leg muscles, and loosens hip joints.
- It helps in improving both balance and pose and aids neuro – muscular coordination too.
- The knees and shoulders become stronger.
- It relieves those suffering from sciatica and reduces flat feet.
- It makes you stable, flexible, and patient.
- It enhances concentration and activates all the mental faculties.
Precautions:
- Never place your feet exactly on the side of the knees, as the pressure would damage your knee, thus it should be always placed above knees in the inner thigh area.
- If you are suffering from high blood pressure, do not keep your hand above your head, place them near your chest.
- Avoid this pose if you are suffering from insomnia or migraine.
4. Plank pose (Phalakasana)
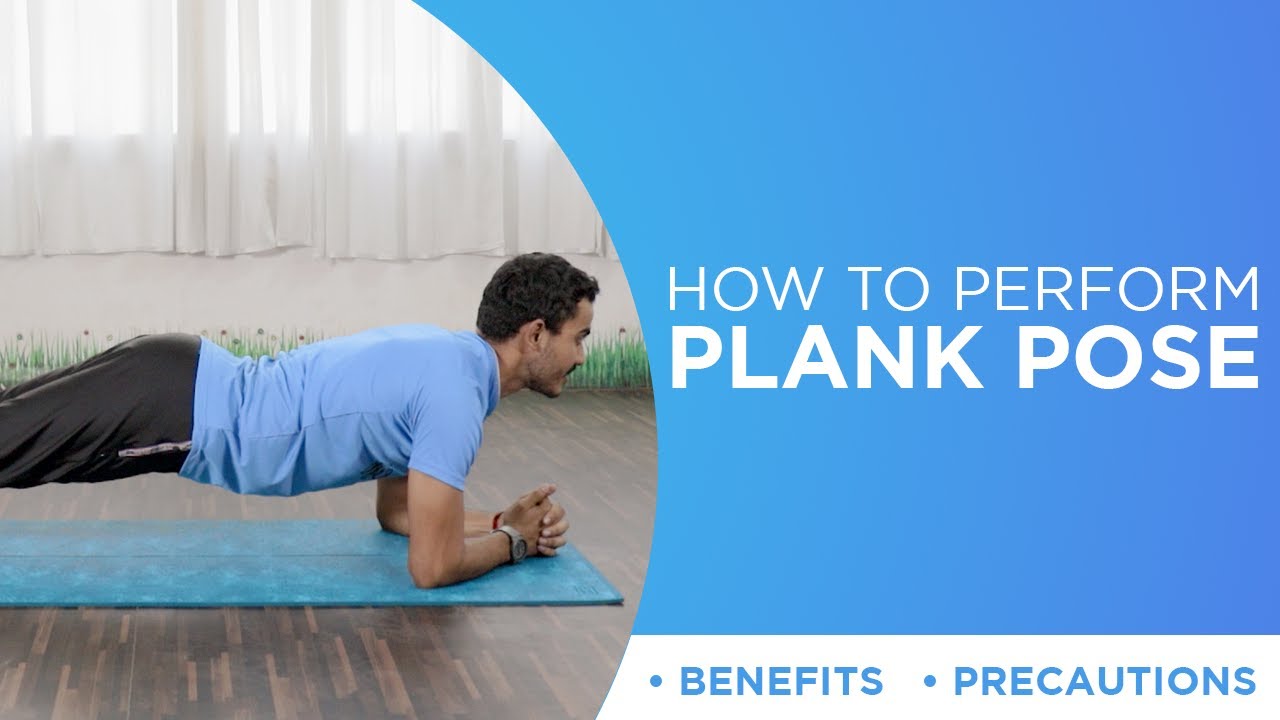
Steps:
- Calm yourself and lie down on the mat on your stomach.
- Bring your palm near your shoulders and raise your torso towards the ceiling.
- Make sure that your shoulders are parallel to your palms.
- Allow your buttocks to be near the shoulder level.
- You should be on your toes while doing so that the pose is properly done.
- Hold this pose for as long as you can and with practice aim it to hold it at least for 30 seconds and gradually increase the time.
Benefits:
- This pose strengthens your core, tones your abdominal area, and increases muscle definition.
- It helps you improve your balance and gives better posture to your body.
- Practicing Plank Pose for several minutes builds endurance and stamina while toning the nervous system.
- The pose helps your mental health by relieving stress and boosts your mood.
- Reduces back pain
Precautions:
- Avoid practicing this pose if you are suffering from carpal tunnel syndrome.
- Those with osteoporosis should also avoid Plank Pose due to risk of fractures.
5. Cobra pose (Bhujangasana)

Steps:
- To begin with, first, lie down flat on your stomach.
- Place your legs comfortably and toes touching the floor and sole facing the roof.
- Then place your palm near your chest,
- Keep your elbows closely tucked inside.
- Then without moving your lower body, raise our upper body supported by your hands.
- Keep breathing normally and stay in the same position for 30 second
- Withdraw from that position, take rest and try again for more 30 seconds.
Benefits:
- It helps in toning your abdominal area.
- Makes your arms stronger by holding the weight of your upper body.
- Stretches your shoulders, chest, and abdominal area.
- It also improves menstrual irregularities and elevates your mood.
- It helps to heal your lower back pain.
- It opens up your heart and reduces stress and anxiety relief.
Cautions:
- Do not practice Cobra pose, if you have any recent back or wrist injury.
- Avoid if you are pregnant.
6. Child’s pose (Balasana)
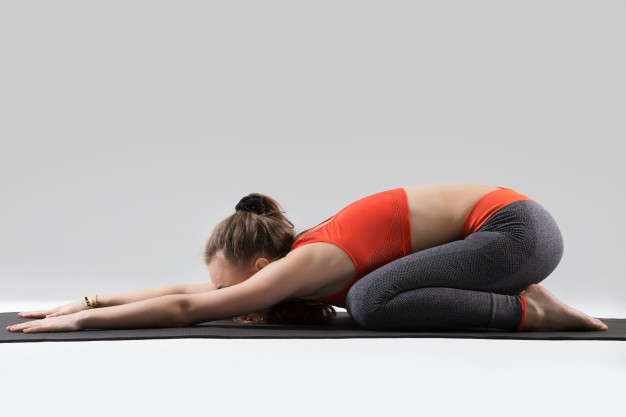
Steps:
- Kneel on your knees and keep your knees at a distance parallel to your hips.
- Bend down and let your palm touch the floor.
- Stretch your hands as much as possible.
- Let your face position itself between your hands and touch the floor.
- Now let your buttocks touch your heels slowly.
- Keep breathing slowly, focusing on your breathing.
- Stay in the same position for 30 seconds for beginners, later you can increase the time up to 2-3 minutes.
Benefits:
- It stretches lower back, hips and ankles.
- Good for back pain.
- It makes you feel better and decreases the level of mental and physical stress.
- Makes your body more flexible
- Increases the circulation of blood to all your muscles.
- Oxygen level increases making you feel so refreshed.
Precautions:
- Avoid this pose if you are suffering from diarrhoea.
- If you are pregnant, then spread your knees wider and do not apply more pressure on the abdominal area.
- Avoid child pose if you have any knee injuries.
7. Diamond pose (Vajrasana)
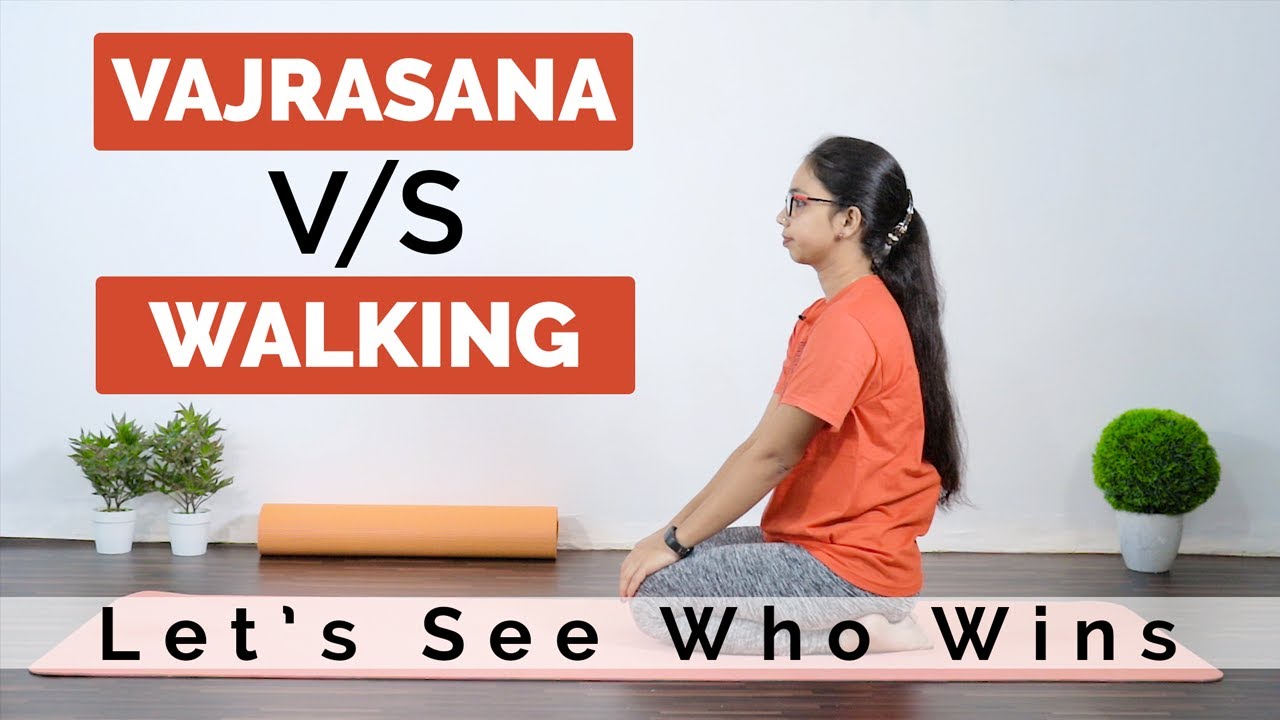
Steps:
- Kneel and keep your legs together, your inner thighs should be together and also your toes next to each other.
- Then sit erect and let your buttocks rest on your feet.
- Place your palm on your chest facing each other or you can keep them on your knees.
- You can close your eyes or simply gaze and focus on anything that’s near you.
- Be aware of your breathing, observe the inhale and exhale.
- Try to stay in this position for 5 minutes.
Benefits:
- It helps better blood circulation in the body.
- Improves the digestive system.
- People with sciatica and severe lower back problems should regularly practice this pose to be benefited.
- It makes the lower body flexible, strengthens sexual organs, tones body muscles (hips, thighs, calves), cures joint pains, urinary problems, etc.
- Tones your body and reduces the weight of your body if regularly practiced.
- It helps in calming the mind and the nervous system.
Precautions:
- Avoid this pose if you have any kind of issues with your knees or any recent knee surgery
- A pregnant woman should widen the space between their knees so that there is no pressure.