Hello friends, in this post we will learn various aspects of Yoga that we can include in our day to day life to manage with the deadly menace of diabetes.

As you all know, sugar is closely linked with diabetes. Now, what exactly is Diabetes? Diabetes is a medical condition wherein the pancreas, an organ that lies near the stomach; either doesn’t make enough insulin or can’t use its own insulin the way it is supposed to. The role of insulin is to help glucose get into the cells of our bodies. And when that does not happen, sugar levels increase in the body, which may lead to long term complications such as cardiovascular diseases, nerve pain, and more.
Diabetes of all types may lead to complications in several parts of the body and increase the risk of dying prematurely. Lack of exercise, unethical eating habits, and modern-day ‘Stress’ are the main cheerleaders of this deadly disease called Diabetes.

- According to ‘National Diabetes Statistics Reports 2020’, cases for diabetes have risen to an estimated 34.2 million.
- Approximately 7.3 million people have diabetes but have not yet been diagnosed (2018).
- About 210.000 Americans under the age of 20 are estimated to have diagnosed with diabetes.
- More than 25% of the world population aged above 65 has diabetes.
How can Yoga help in managing Diabetes?
If you or your loved ones are living with diabetes, you already know how excruciating it could be with all the limitations and restrictions in the day-to-day lifestyle. This is where Yoga comes in and has seen great success in managing diabetes.
A simple addition of pranayama, yoga, and meditation to your daily routine is a step in the right direction to handle diabetes. A combination of yoga, pranayama, and meditation includes postures and breathing exercises that are designed specifically to target and stimulate the pancreas. Yoga postures for diabetes improve blood flow to the pancreas which in turn rejuvenates the organ’s cell and improves the ability to produce insulin for the body. Yoga also stimulates the organs which in turn improves metabolic activities. This means that the chemical transformations within a cell are carried more efficiently. This makes it a highly beneficial exercise for those suffering from diabetes.
Yoga can do more than just relax your body and mind. Following are the benefits of Yoga for Diabetes:
- Improves glucose levels.
- Increases insulin sensitivity.
- Lower blood glucose.
- Lowers stress levels
- Improves emotional well being
- Boosts strength and balance
- Protects heart health.
We have listed below some of the best meditation exercises, pranayama exercises, and yoga poses for Diabetes.
Yoga Dhyana / Meditation for Diabetes
1. Scan your body
Steps:
- Place yourself in a relaxing position.
- In this type of meditation, one must focus on the entire body and nothing else.
- So, after settling yourself, close your eyes and breathe deeply.
- First, focus on your toes, move them a little, and focus on the toes.
- Then, observe your ankles, observe them while moving them clockwise and anti-clockwise.
- Keep breathing and gradually move up and feel your calf muscles and knees.
- Then, let your focus shift to the thighs and buttocks.
- After doing so, attend your abdominal area; observe its movement while you are breathing.
- Observe your chest and diaphragm moving while inhaling and exhaling.
- Now, focus on your shoulders and arms till your fingertips.
- Then focus on your neck for a while and then your head.
- You can repeat the same from head to toe again.
- Repeat this process until you feel better.
2. Mindfulness Meditation | Yoga for Diabetes
Steps:
- Sit comfortably and focus on your breathing. Observe your breathing rhythm and feel the effects of inhaling and exhaling all over the body.
- Close your eyes.
- When you feel calm, your mind might wander here, and there, many thoughts might rush in, do not run away from these thoughts. Give attention to your thoughts, try to analyze your thought without any judgment.
- Do not get too involved with one thought, just let it pass.
- This kind of meditation helps to create awareness of one’s own thought process.
- It is easy and can be practiced alone.
Yoga Pranayama for Diabetes
1. Kapalbhati | Skull shining breath | Yoga for Diabetes
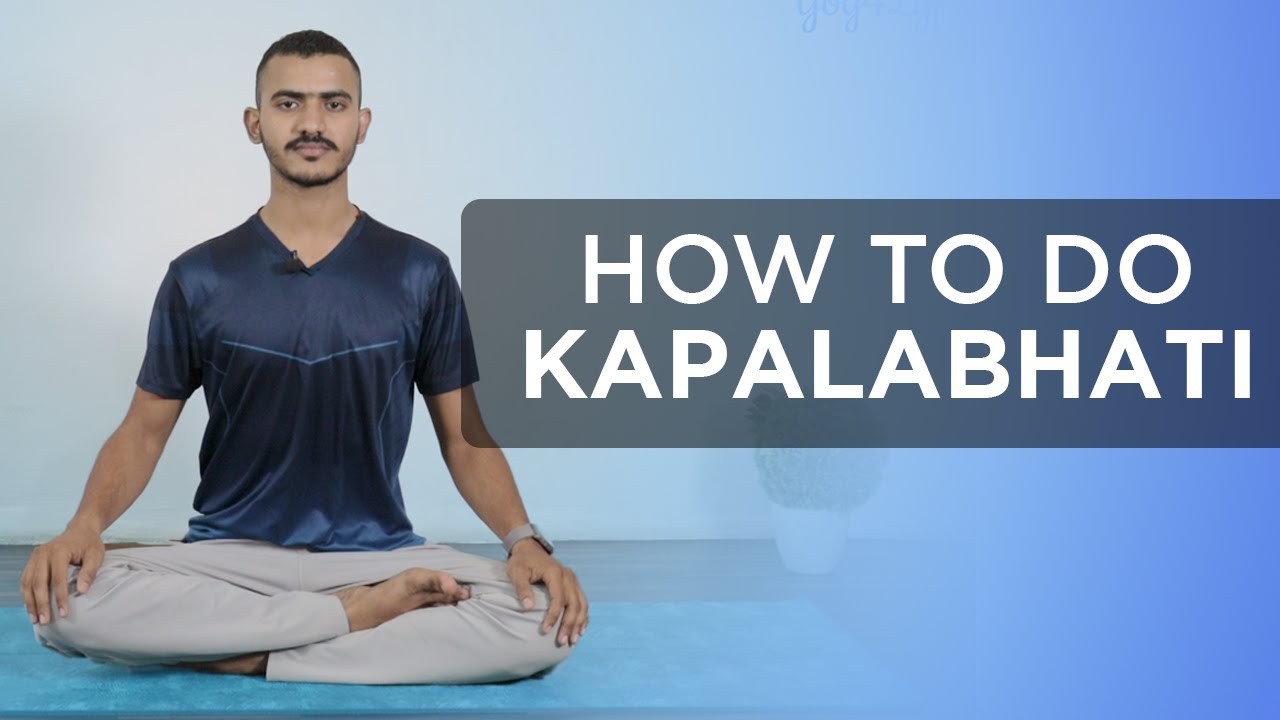
Steps:
- Sit comfortably on your mat and sit straight so that your back, neck, and head are aligned.
- Inhale normally and exhale forcefully through your nostrils only.
- Keep inhaling and exhaling in this manner for 30 -50 seconds.
Precautions:
- Avoid Kapalbhati if you are pregnant.
- Avoid if you are suffering from high blood pressure or heart-related discomforts
- Not to be practiced when having an asthma attack.
2. Bhastrika Pranayama | Breath of fire | Yoga for Diabetes
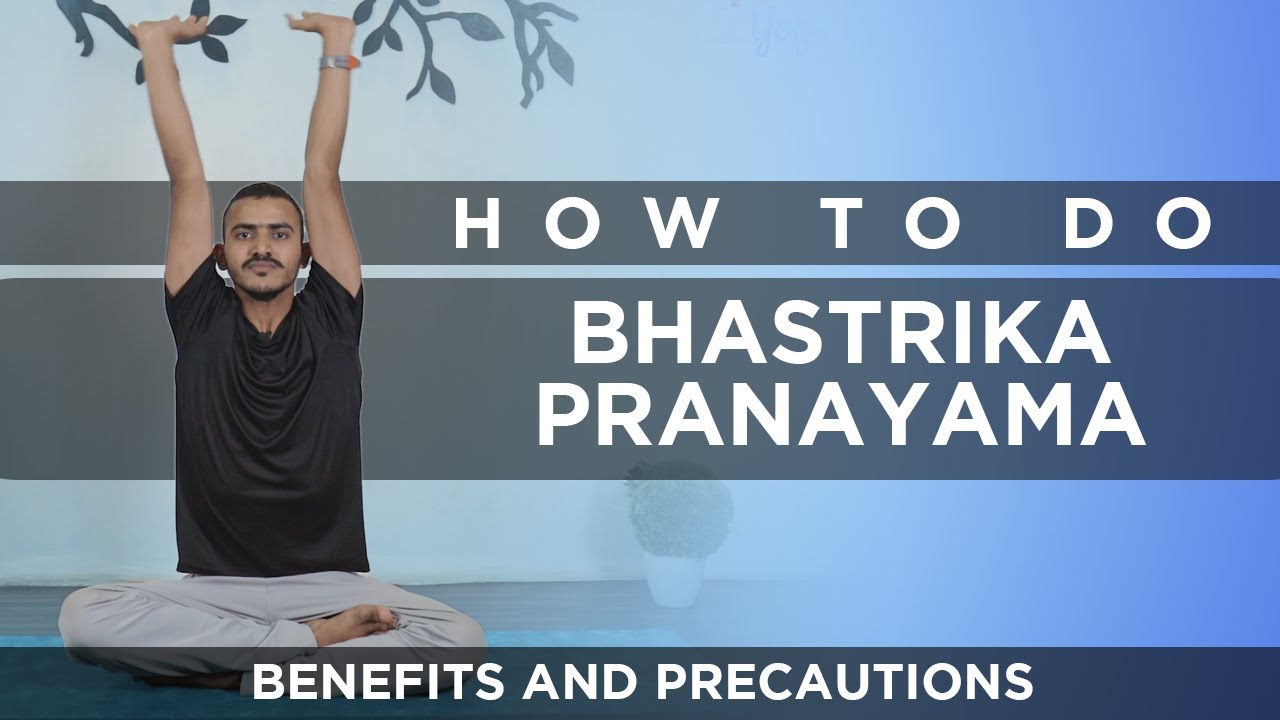
Steps:
- Sit comfortably on the mat, and fold your legs.
- Sit straight and keep your back neck and head aligned.
- Bend your elbows, placing them in front of your torso.
- When you inhale, move your elbows up and palm open and placing it near your ears.
- Hold your breath for 2-3 seconds.
- Then you exhale, and when you exhale, push your breath out and swing you elbows down and your open palm into a fist.
- Keep inhaling and exhaling 20-25 times continuously.
Precautions:
- Avoid practicing Bhastrika Pranayama if you are suffering from high blood pressure.
- A person suffering from acute heart problems should not practice BhastrikaPranayam.
3. Anulom Vilom Pranayama | Channel Cleaning Breathing
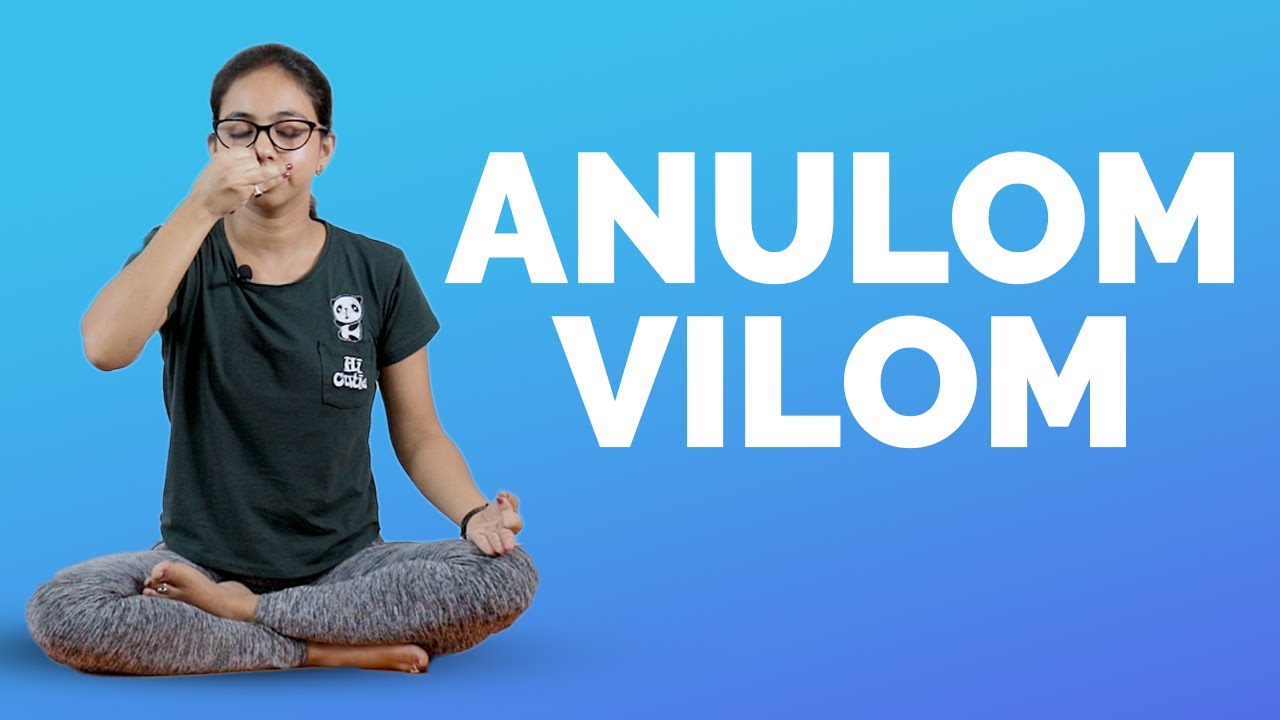
Steps:
- Sit comfortably on your mat and sit straight so that your back, neck, and head are aligned.
- Let your left-hand rest on your left knee.
- There is this particular hand pose that one has to perform with his right hand. There is a reference image. You have to curl up your index and middle finger and let the other fingers be open and not curled up.
- Maintaining the same hand pose, use your thumb to press your right nostril and inhale deeply from your left nostril.
- Hold your breath for 5 seconds and then press your left nostril with your ring finger and lift your thumb from your right nostril and exhale slowly.
- Keep repeating this 15-20 times.
Precautions:
- Avoid practicing it if you are suffering from high blood pressure or any heart disease.
Yoga poses for Diabetes
1. Bow Pose | Dhanurasana
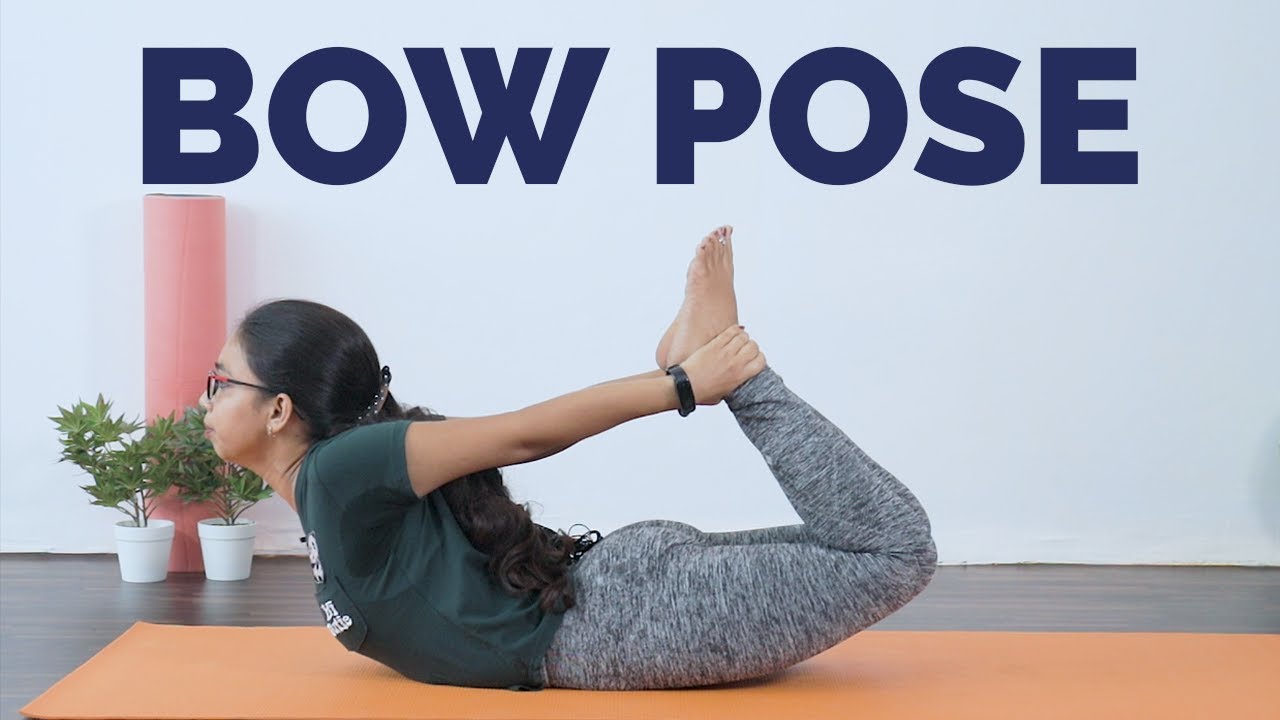
Steps:
- Lie stomach-down on the floor.
- Raise front torso, supporting weight on the stomach.
- Raise legs off the floor, fold at knees.
- Take hands back and take hold of your ankles, arching up and back as much as you can.
Precautions:
- One should not practice this right after having a meal or right before sleeping.
- Avoid this pose if you are suffering from high blood pressure or any heart problems.
2. Downward Facing Dog Pose | Adho Mukha Svanasana

Steps:
- Stand straight on your legs then bend forward.
- Place your palms on the floor, note that your fingers are widely spread and balanced.
- There should be enough space between your knees and palm.
- Now, take note that your wrists are exactly aligned with your shoulder, and knees aligned with hips.
- Stretch your elbows and let your upper back relax.
- Lift both your knees from the floor and raise your pelvis too.
- Straighten your legs gradually, as straight as possible.
- Bring your body into the shape of the alphabet ‘A’.
- Stay stable and do not change the distance between your palms and feet.
- Draw your shoulder blades into your upper back ribs and toward your tailbone.
- Hold this position for 30 seconds and later you can increase your time limit.
- To relax from that position, relax your knees and bend down.
Precautions:
- If the person practicing this pose has stiff or weak back muscles, tight hamstrings, sciatica, or knee problems should practice this pose gently and gradually easing in and out of the pose while keeping the knees bent and back straight.
- Those with Carpal Tunnel Syndrome should press down into the base of their fingers.
3. Mountain Pose | Tadasana

Steps:
- Stand straight on the ground and maintain distance between your feet.
- Raise both your arms together towards the sky with a deeply focused inhalation.
- Let your fingers interlock with the fingers of the other hand comfortably.
- Now raise your heals as much as possible in a way that you maintain a balance standing on your toes.
- Hold his poses as long as possible and keep inhaling and exhaling.
Precaution:
- Avoid holding this pose for too long for those suffering from Low Blood Pressure as the blood may begin to pool in the lower half of the body, causing dizziness.
- If one is pregnant it is advised to keep one-foot hip distance, or wider between your legs.
4. Bridge Pose | SetubandhAsana
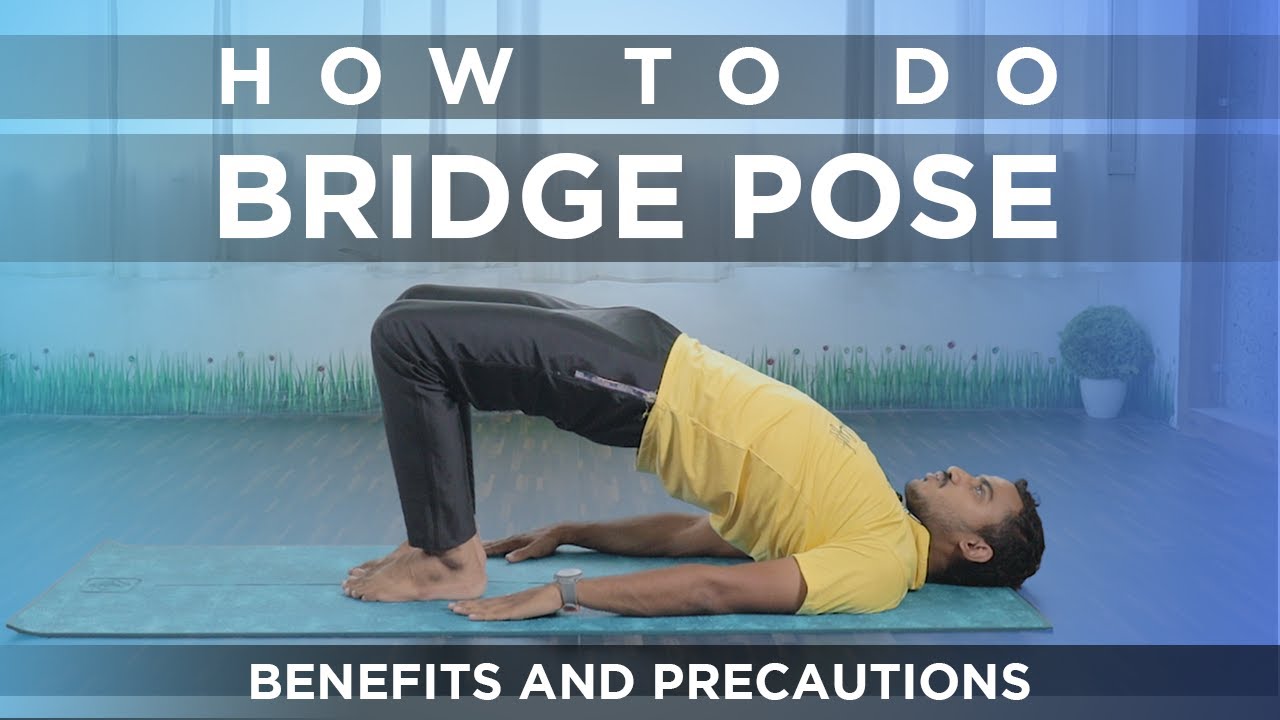
Steps:
- Lying on your back, bend both knees and place the feet flat on the floor hip-width apart.
- Place your arms alongside the body with the palms facing down.
- The fingertips should touch the heels.
- Inhale and lift the hips up, by giving a little pressure on the feet towards the floor.
- Lift your chest up with the support of your arms and shoulders.
- Please note that your shoulders and arms should be resting on the floor.
- Breathe and hold for 4-8 breaths.
- To release: exhale and gently place your spine back to the floor.
Precautions:
- Avoid practicing this pose if you are suffering from neck or back pain.
- Avoid the yoga pose if one is having any knee pain.
- Avoid it during a shoulder injury.
- Avoid moving your head left or right.
- Do not put more pressure on the neck.
5. Half Spinal Twist Pose | Ardha Matseyandra Asana
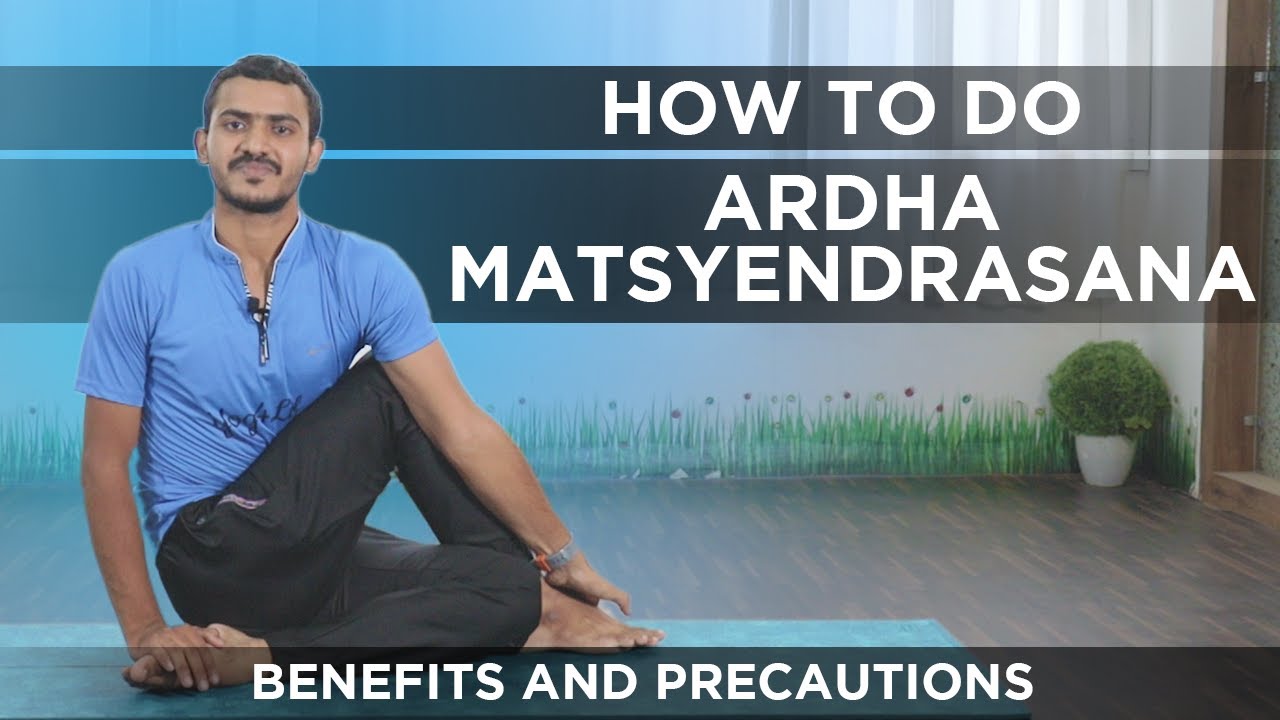
Steps:
- Sit comfortably on your mat and sit straight so that your back, neck and head are aligned.
- Take the support of your hands, and bend your right knee and place it on the left side of your left hip.
- Now twist your hips and shoulders to your right.
- Place your left elbow near your right knee while the right hand is supporting your back to be straight and balancing the pose.
- Hold it for 5-6 breaths and relax
- Repeat the same with another leg.
Precautions
- Avoid this pose if you are pregnant or going through menstrual cramps.
- Avoid it if you have gone through recent brain, abdominal, or heart surgery.
- If you had a spinal disc slip, then practice it under supervision.
6. Child’s Pose | Balasana
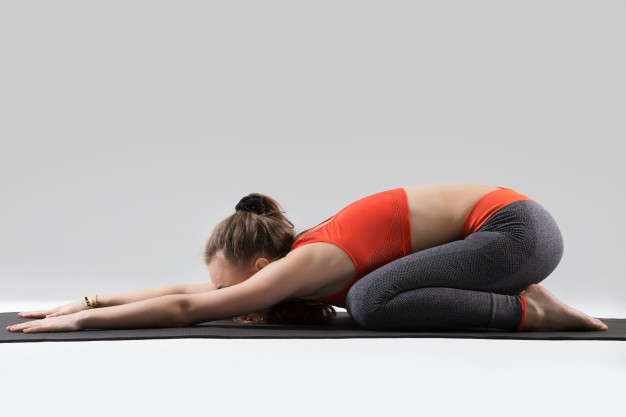
Steps:
- Kneel on your knees and keep your knees at a distance parallel to your hips.
- Bend down and let your palm touch the floor.
- Stretch your hands as much as possible.
- Let your face position itself between your hands and touch the floor.
- Now let your buttocks touch your heels slowly.
- Keep breathing slowly, focusing on your breathing.
- Stay in the same position for 30 seconds for beginners, later you can increase the time up to 2-3 minutes.
Precautions:
- Avoid this pose if you are suffering from diarrhea.
- If you are pregnant, then spread your knees wider and do not apply more pressure on the abdominal area.
- Avoid child pose if you have any knee injuries.
7. Cobra Pose | Bhujangasana

Steps:
- To begin with, first, lie down flat on your stomach.
- Place your legs comfortably and toes touching the floor and sole facing the roof.
- Then place your palm near your chest,
- Keep your elbows closely tucked inside.
- Then without moving your lower body, raise our upper body supported by your hands.
- Keep breathing normally and stay in the same position for 30 second
- Withdraw from that position, take a rest, and try again for more than 30 seconds.
Precaution:
- Do not practice Cobra pose, if you have any recent back or wrist injury.
- Avoid if you are pregnant.
8. Seated Forward Bend | Paschimottasana
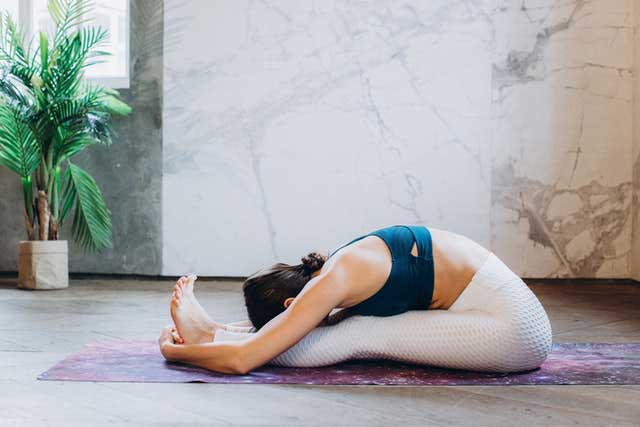
Steps:
- Sit straight on the ground, stretching your legs out front.
- Make sure your toes are together pointing forwards.
- Now, breathe in, raise your arms above, and stretch up.
- Breathe out, bend forward from hip joints. Make sure your spine is erect and move forwards towards the toes, not downwards towards your knees.
- Try grabbing your toes with your fingers and if you’re unable to do that, place your hands on legs as far as you can. The nose should touch the knees.
- Inhale and slightly lift your head and lengthen your spine.
- Move the navel towards the knees while breathing out.
- Breathing in, stretch your arms out in front of you and slowly come back to normal position.
- Breathe out and lower the arms.
Precautions:
- Avoid this asana if you have lower back pain, diarrhea, Asthma, or slip disk. Do not bend beyond your comfort level.
9. Shoulder Stand Pose | Sarvangasana
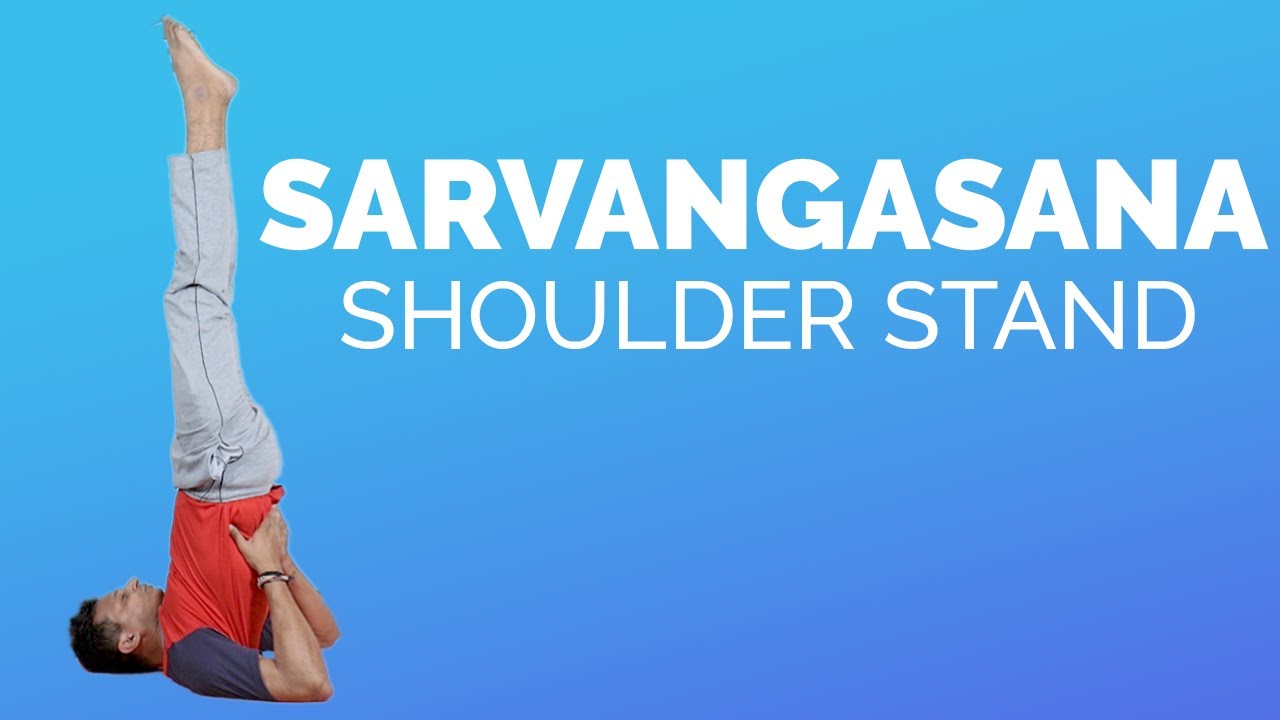
Steps:
- To begin with, lie down on your back with hands on the side.
- Gently lift your legs, buttocks, and back such that you come up high on your shoulders. You can use your hands to support your back.
- Inhale and raise the back and legs up into a vertical position. Your chin should rest against the chest, creating a chin lock.
- Keep your legs firm and fix your eyesight on the toes as you maintain balance.
- Continue normal breathing and remain in this position for about 30-60 seconds.
- To come out, inhale and while exhaling, bend the waist and lower the legs over the head. Bring your hands to the floor.
- Inhale and lower your back on the floor keeping your legs at 90 degrees. Be very gentle while your lower your back. Then slowly lower your legs back to the starting position.
Precautions:
- You will have to be extra careful while performing this asana. Perform each pose very slowly and gently to avoid any mishaps.
- People suffering from high blood pressure, heart diseases, and brain conditions should avoid this asana.
- Avoid if you are suffering from slip disc, enlarged thyroid, headache, or cervical spondylitis.
10. Corpse Pose | Shavasana
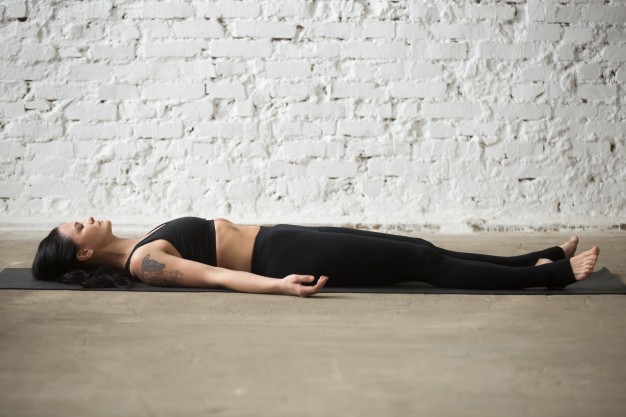
Steps:
- Lie flat on the floor keeping your back straight.
- Your palms, facing upwards, must be placed slightly apart from your body.
- Close your eyes and place your legs comfortably apart from each other. Make sure your toes are facing sidewards.
- Keeping your head and spine in a straight line, lay peacefully.
- Take a deep breath, draw attention to every part of your body.
- Breathe slowly, setting your body in a state of deep relaxation. Let it soothe your body, mind, and soul.
- Forget everything and try to focus on your body while breathing. Feel each and every breath going in and out.
- Remain in this position for a few minutes (make sure you don’t fall asleep) and slowly come back to your normal position.
Precautions
- Avoid doing this Asana in a noisy/disturbing environment.
- Make sure not to move your body while performing this asana. You need to remain completely still as even the slightest movement may disturb your practice.
Physical exercise plays a significant role in managing diabetes. And what better than Yoga, as it is soft on your joints, doesn’t require too much energy, and scientifically proven to cure diabetes. Yoga’s holistic approach combined with pranayama, and other healthy changes such as food habits, stress management, and relaxation is proven to be extremely helpful to people with diabetes manage their overall health. All you need to do is, start slow, take your time, and diligently stick to a regular yoga routine and you will see the miraculous effects on your body.